The Cycle Animation
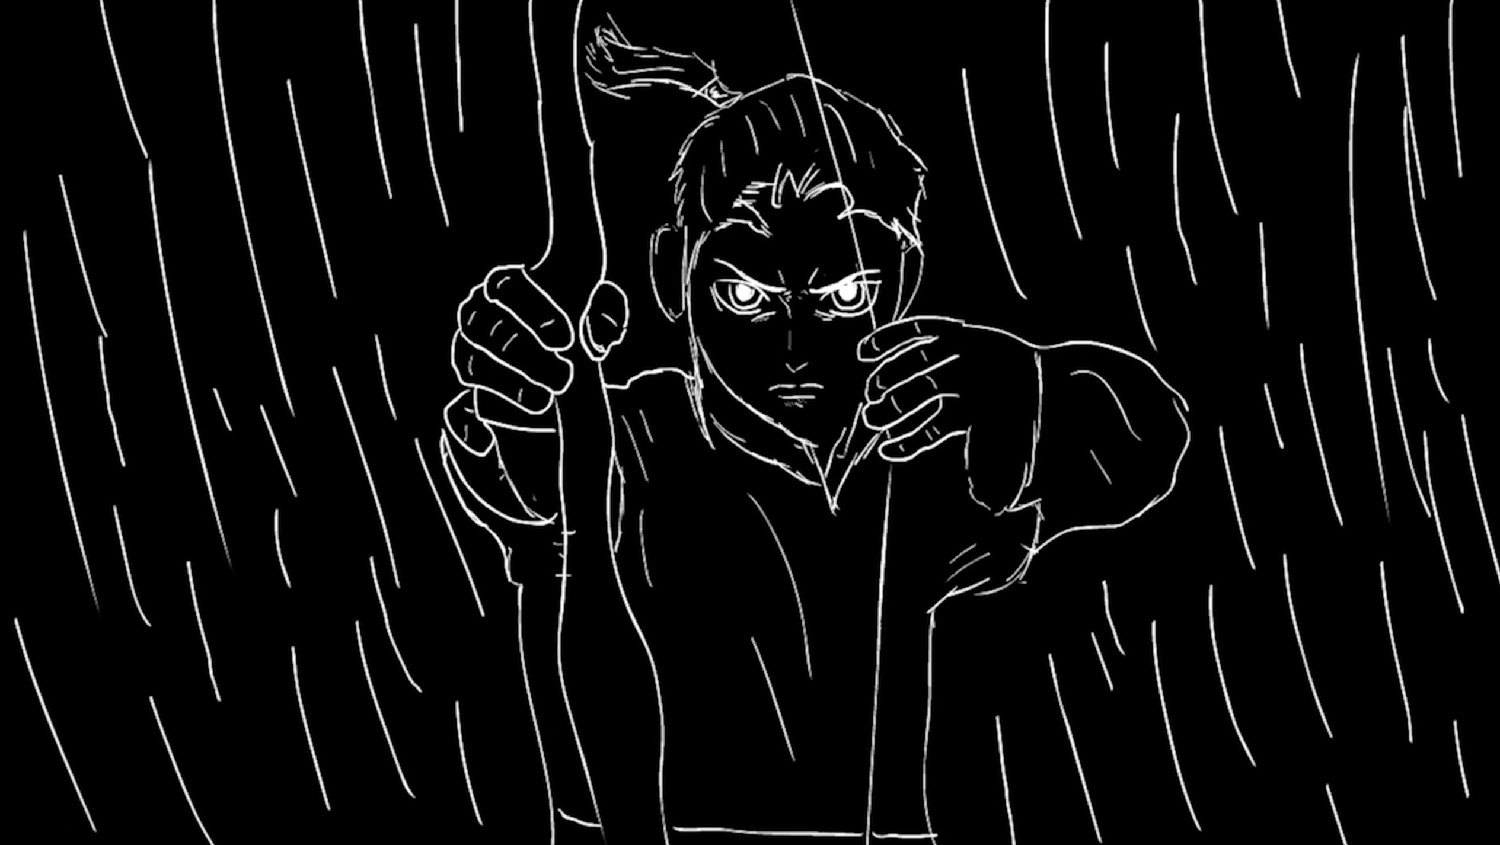
For my final project for Design for Media 1, I was tasked with creating a moving black and white image. I chose to create a 2D animation for my final project.
STORY & CONCEPT
Part I
Crafting my Plot
Before I even started animating anything, I had to come up with a story that would serve as the focus of my animation. This was tricky because I had to design a plot that was short enough that I would have enough time to animate, but also long enough to be interesting and engaging to audiences.
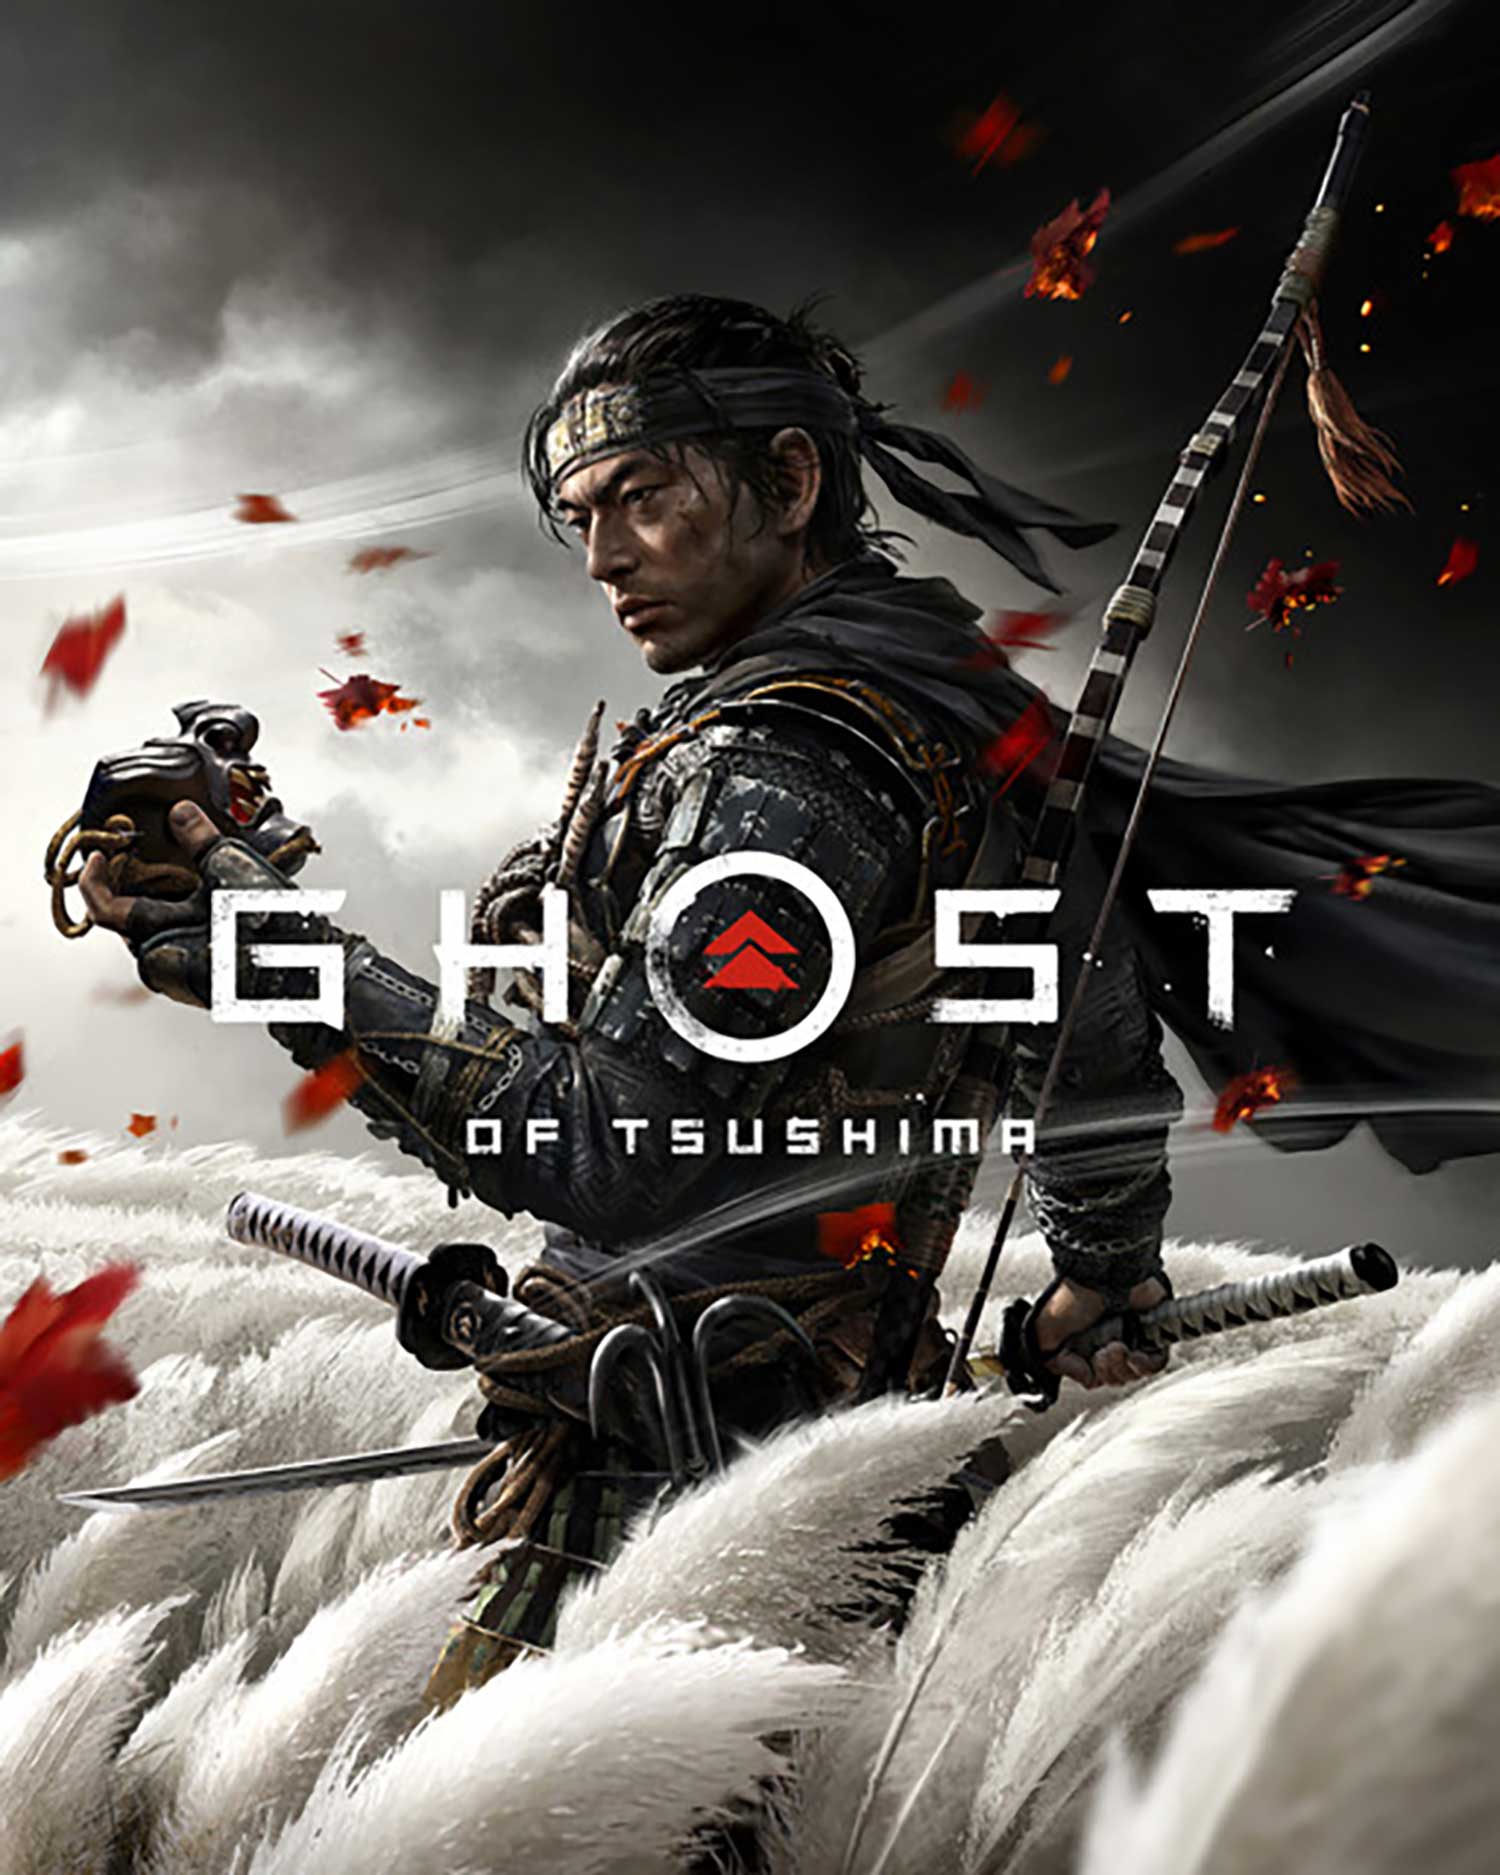
At the time of this project, I had recently finished playing a video game called “The Ghost of Tsushima”. Within the game, there were moments called “Standoffs” where the player would face down an opponent and finish them in one blow. I decided to design my story around this idea.
Making Concept Art
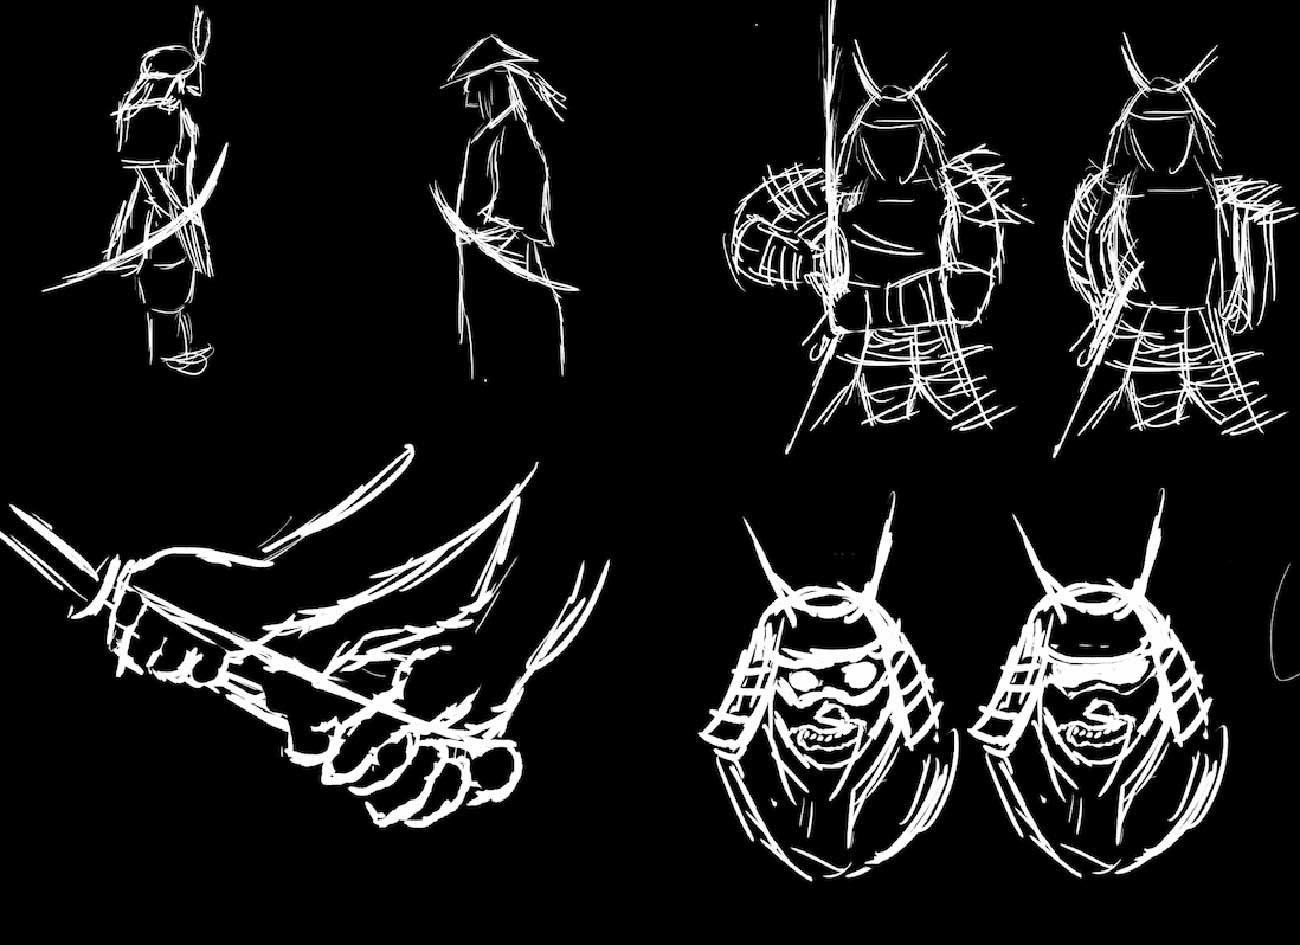
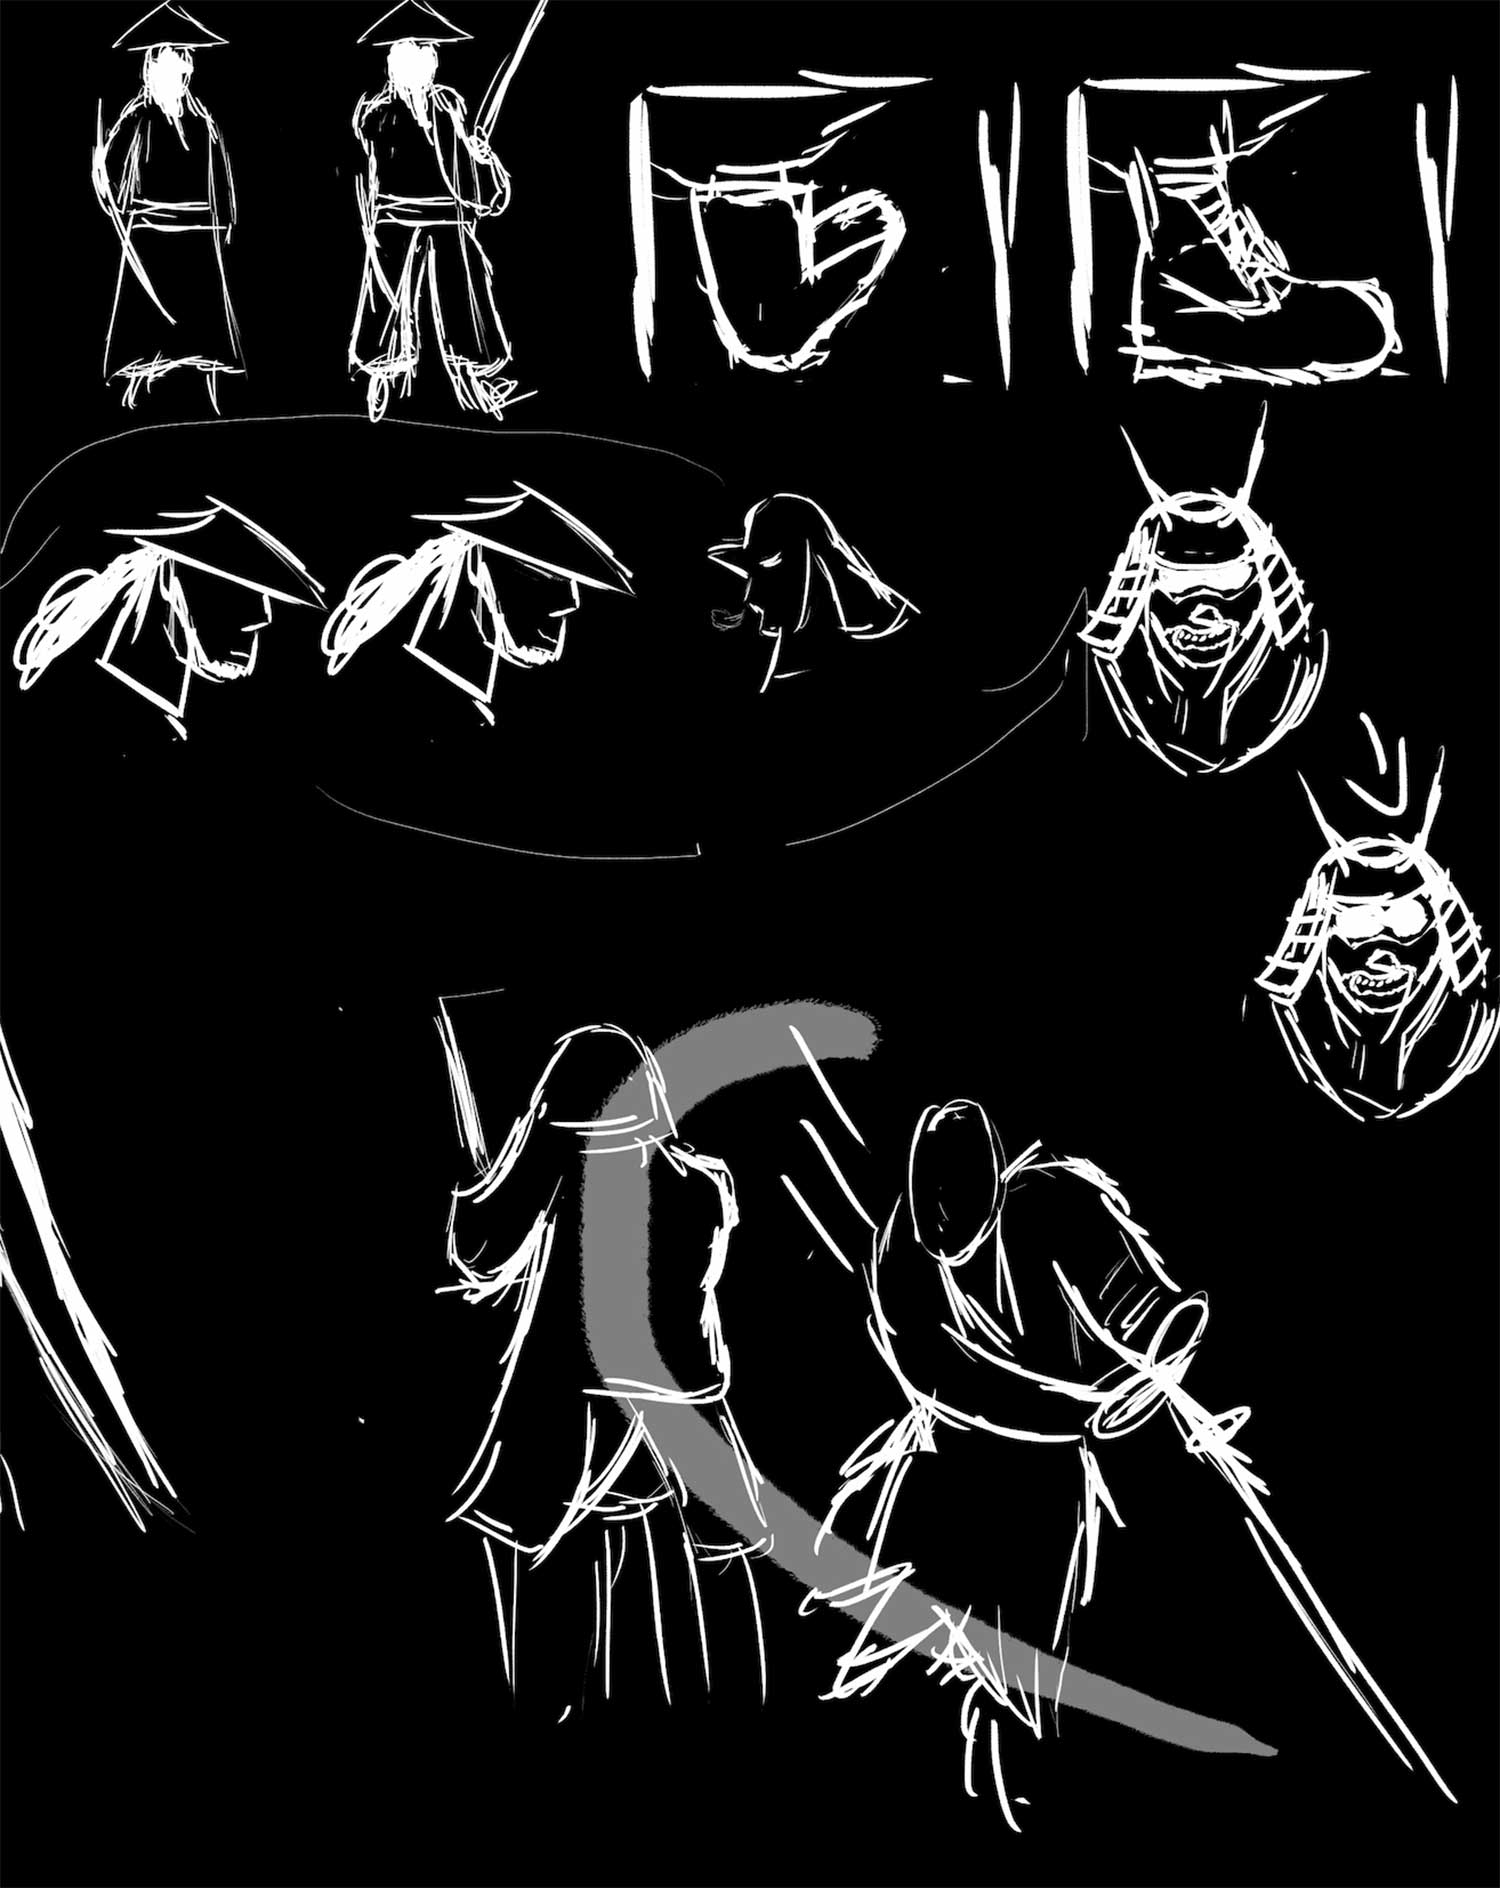
Next I began creating some concept art for my characters in their respective scenes and gathering reference material for posing.
ANIMATION
Part II
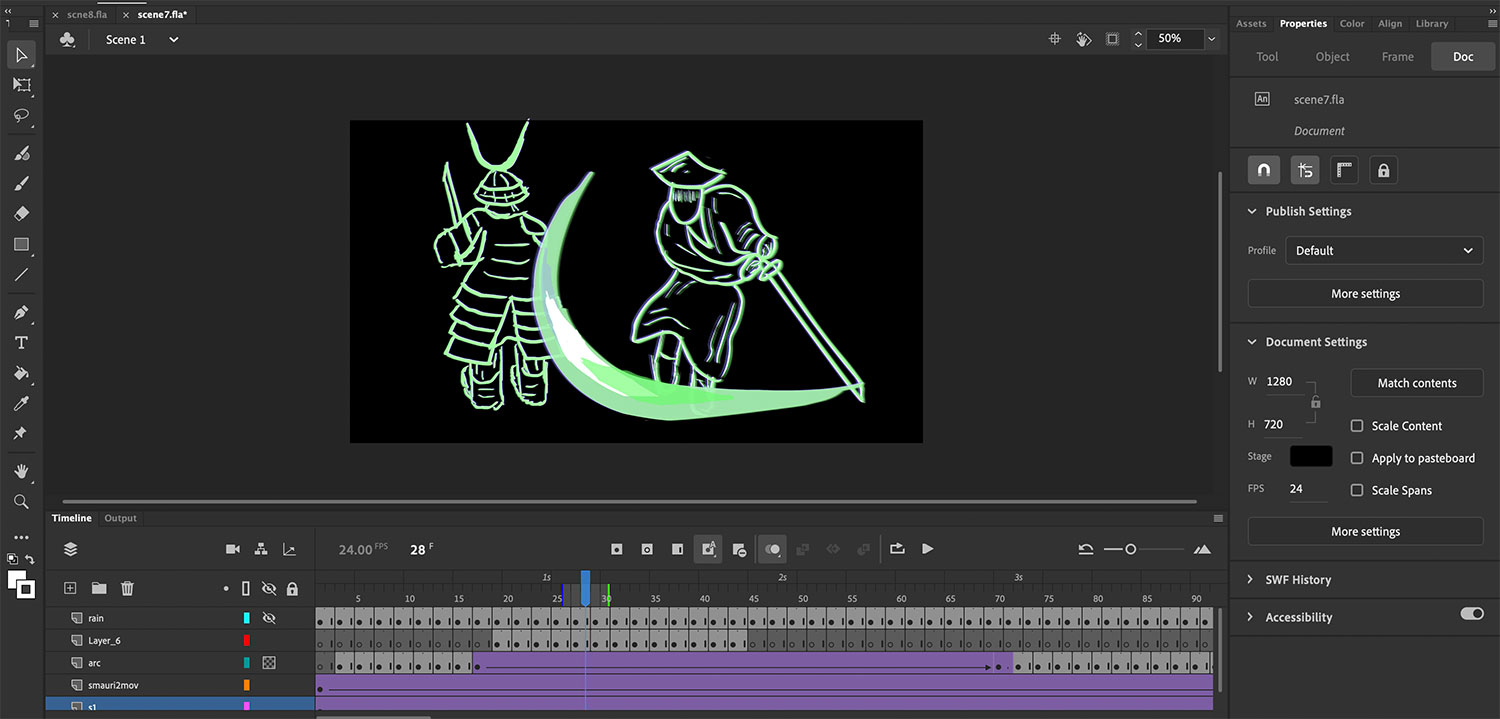
Making Rough Movements
Now that I had everything prepped, I actually had to… animate my story. Prior to this assignment. I had zero prior experience doing animation of any kind.
So I did what anyone who needed to learn how to do something new did: go to YouTube. I eventually settled on using Adobe Animate to do my animation because it wasn't an extreme learning curve and it had plenty of tutorials from both Adobe and community creators.
As I worked through animating my scenes, I purely focused on animating the motions that would be taking place in each scene. I did things this way so I could get a rough version of all my animations done and so I could focus purely on refining things and adding detail the next time around.
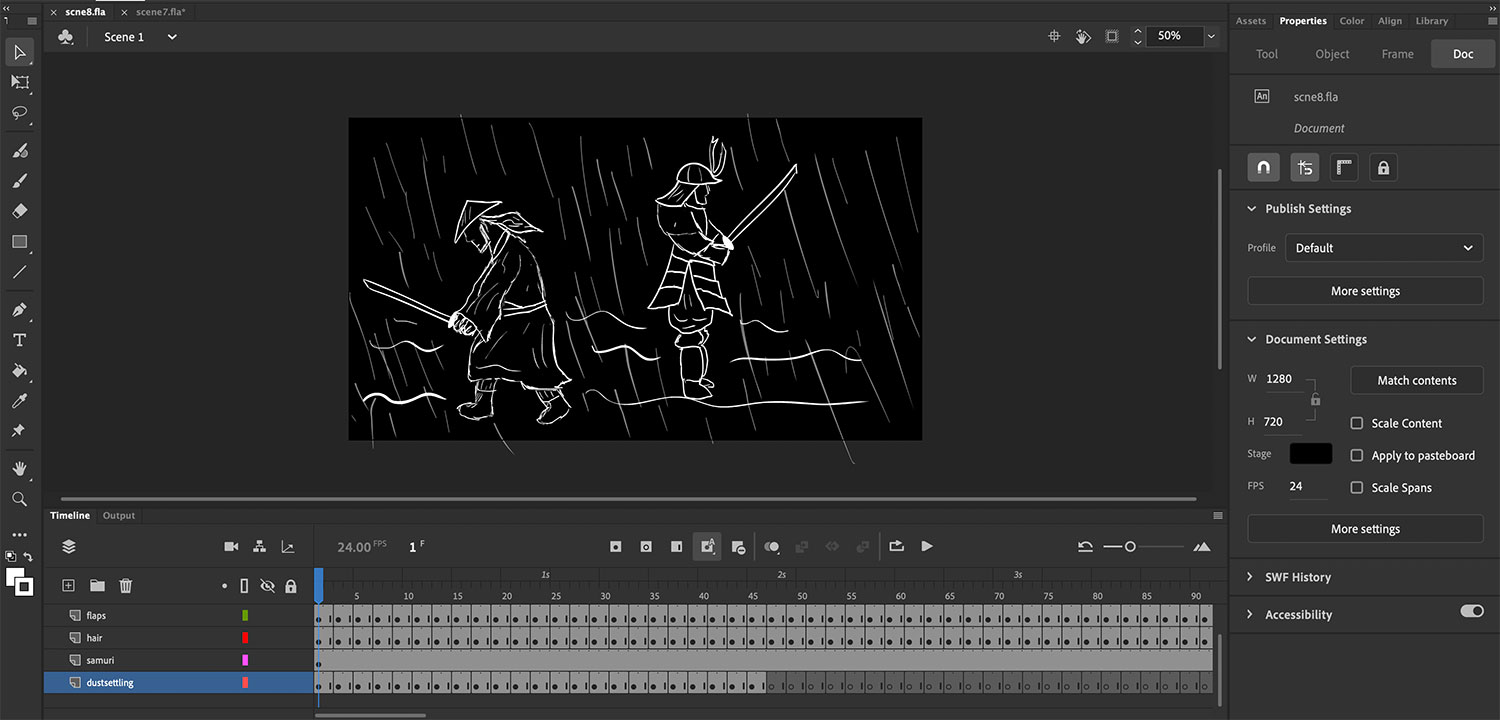
Adding Refinements and Detail
Next, I went back through all my completed scenes and tweaked motions and tried to heighten visual designs of characters and their scenes. I also used this step to add smaller detailed animations into all my scenes, giving the characters and their environments more “life” and making them seem more interesting to look at.
POST-PRODUCTION
Part III
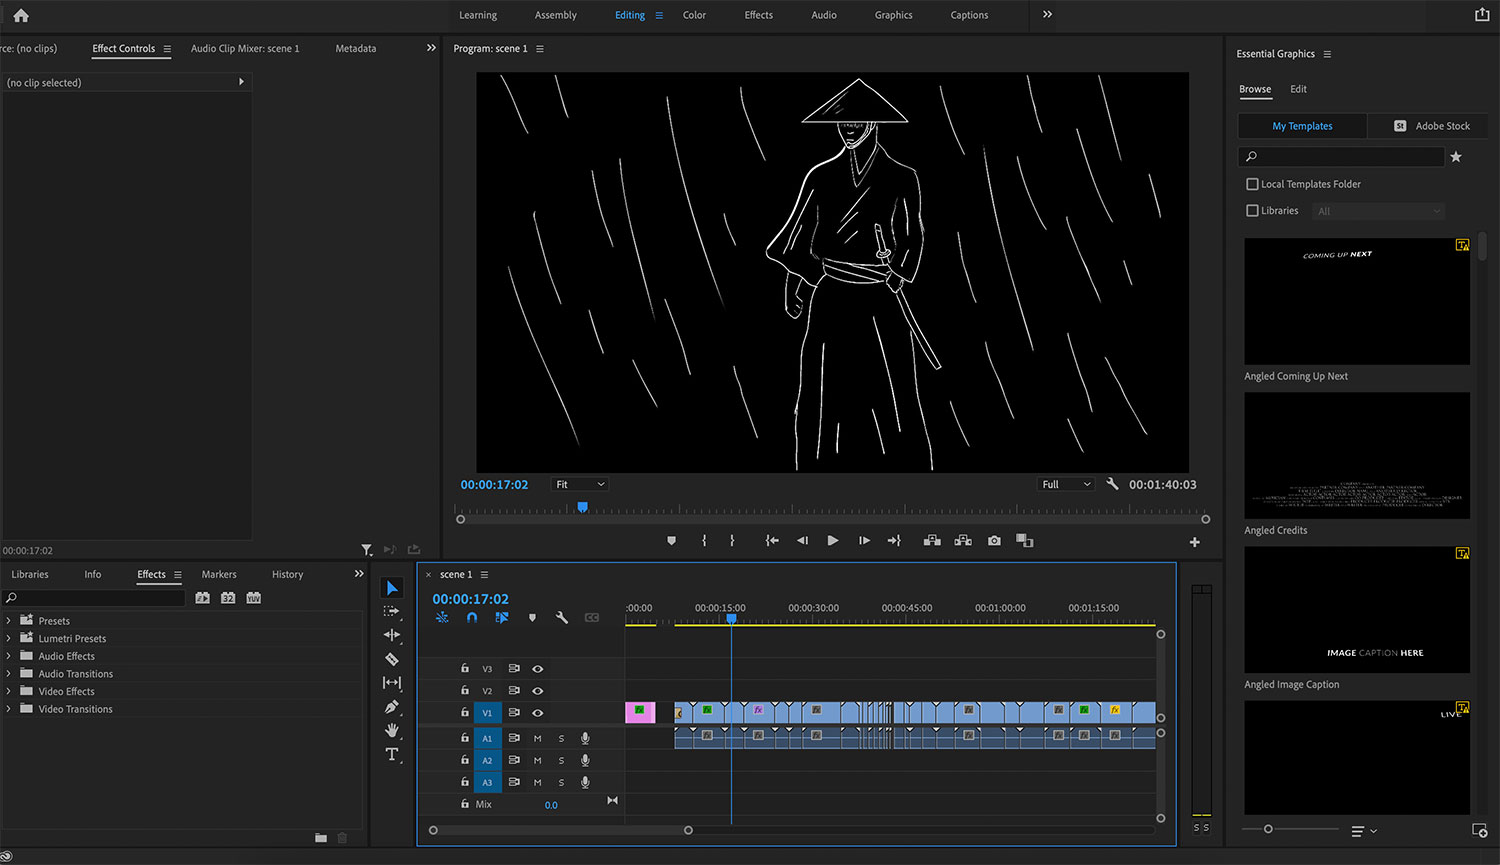
Editing my Content
After completely finishing my animation scenes, I then uploaded all my content into Adobe Premiere Pro for the editing process. It was here that I neatly strung all my content together and added some visual effects to improve the overall quality of my animation.
MY FINAL ANIMATION
Part IV
View my final animation here!